Cozy Hobby Highlight: Linocut Printing
If you’re looking for a creative hobby that feels both meditative and rewarding, linocut printing might be just the thing. With a simple block of linoleum, you can carve your own designs, roll on some ink and press out prints - each one a little different than the rest. And prints can be as big or as small as you like: frame them as wall art, turn them into greeting cards, or even carve an ex libris to stamp for your books.
I first tried this type of printing back in my school days, and though I hadn’t thought about it in years, revisiting it now has reminded me how enjoyable the process can be. I did a print for my weekly Three Leaves Challenge and I wanted to show you the process more closely and hopefully inspire some of you to give it at try.
What You’ll Need
Before diving into the process, here are the basic tools and materials:
Linoleum block (traditional grey lino or softer alternatives)
Carving tools (V and U-shaped gouges)
Ink (water-based block printing ink is great for beginners)
Brayer (a roller for applying ink)
Baren or spoon (for pressing the paper onto the inked block)
Paper (printing paper, I found that for myself and my goals the smoother the paper - the better)
(Optional) Black marker (I use it to mark the parts that I need to carve out)
Original photo - taken and owned by Autmly
Sketching Your Idea
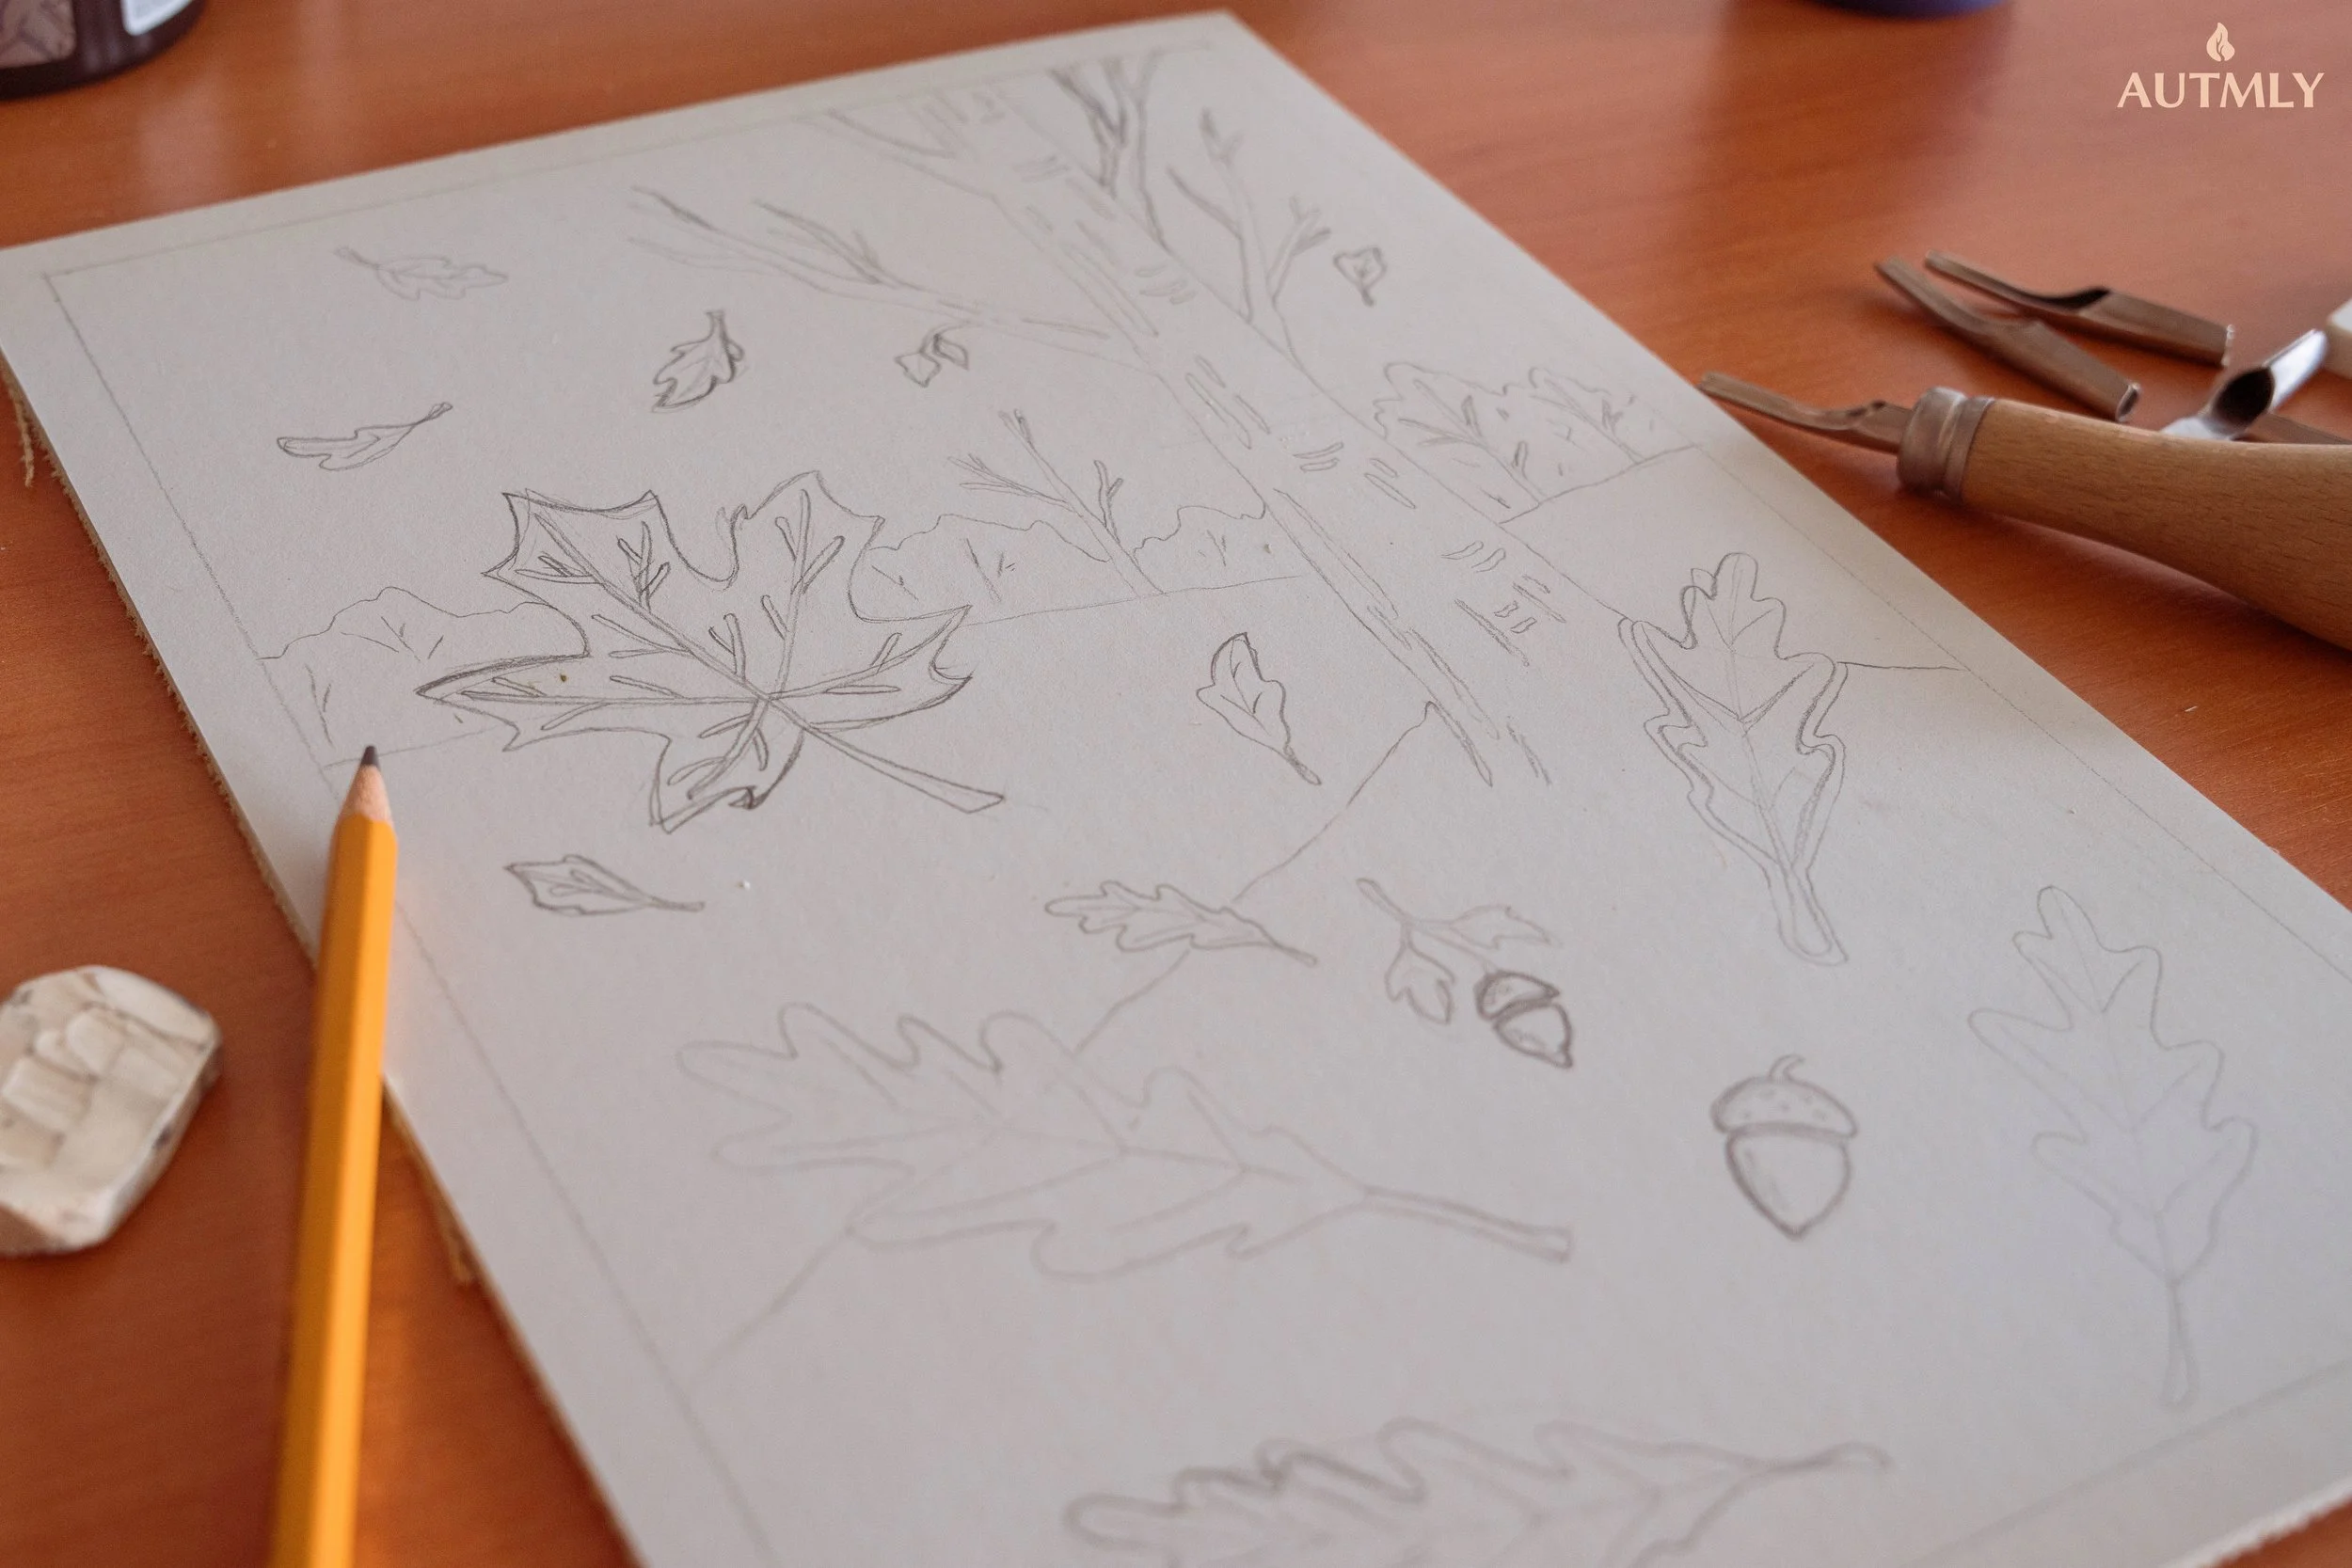
The first thing I did was sketch my idea directly on the lino sheet. If you’d rather start on paper, you can always draw your design first and then transfer it with tracing paper. Keep in mind that the print will be a mirror image of your carving!
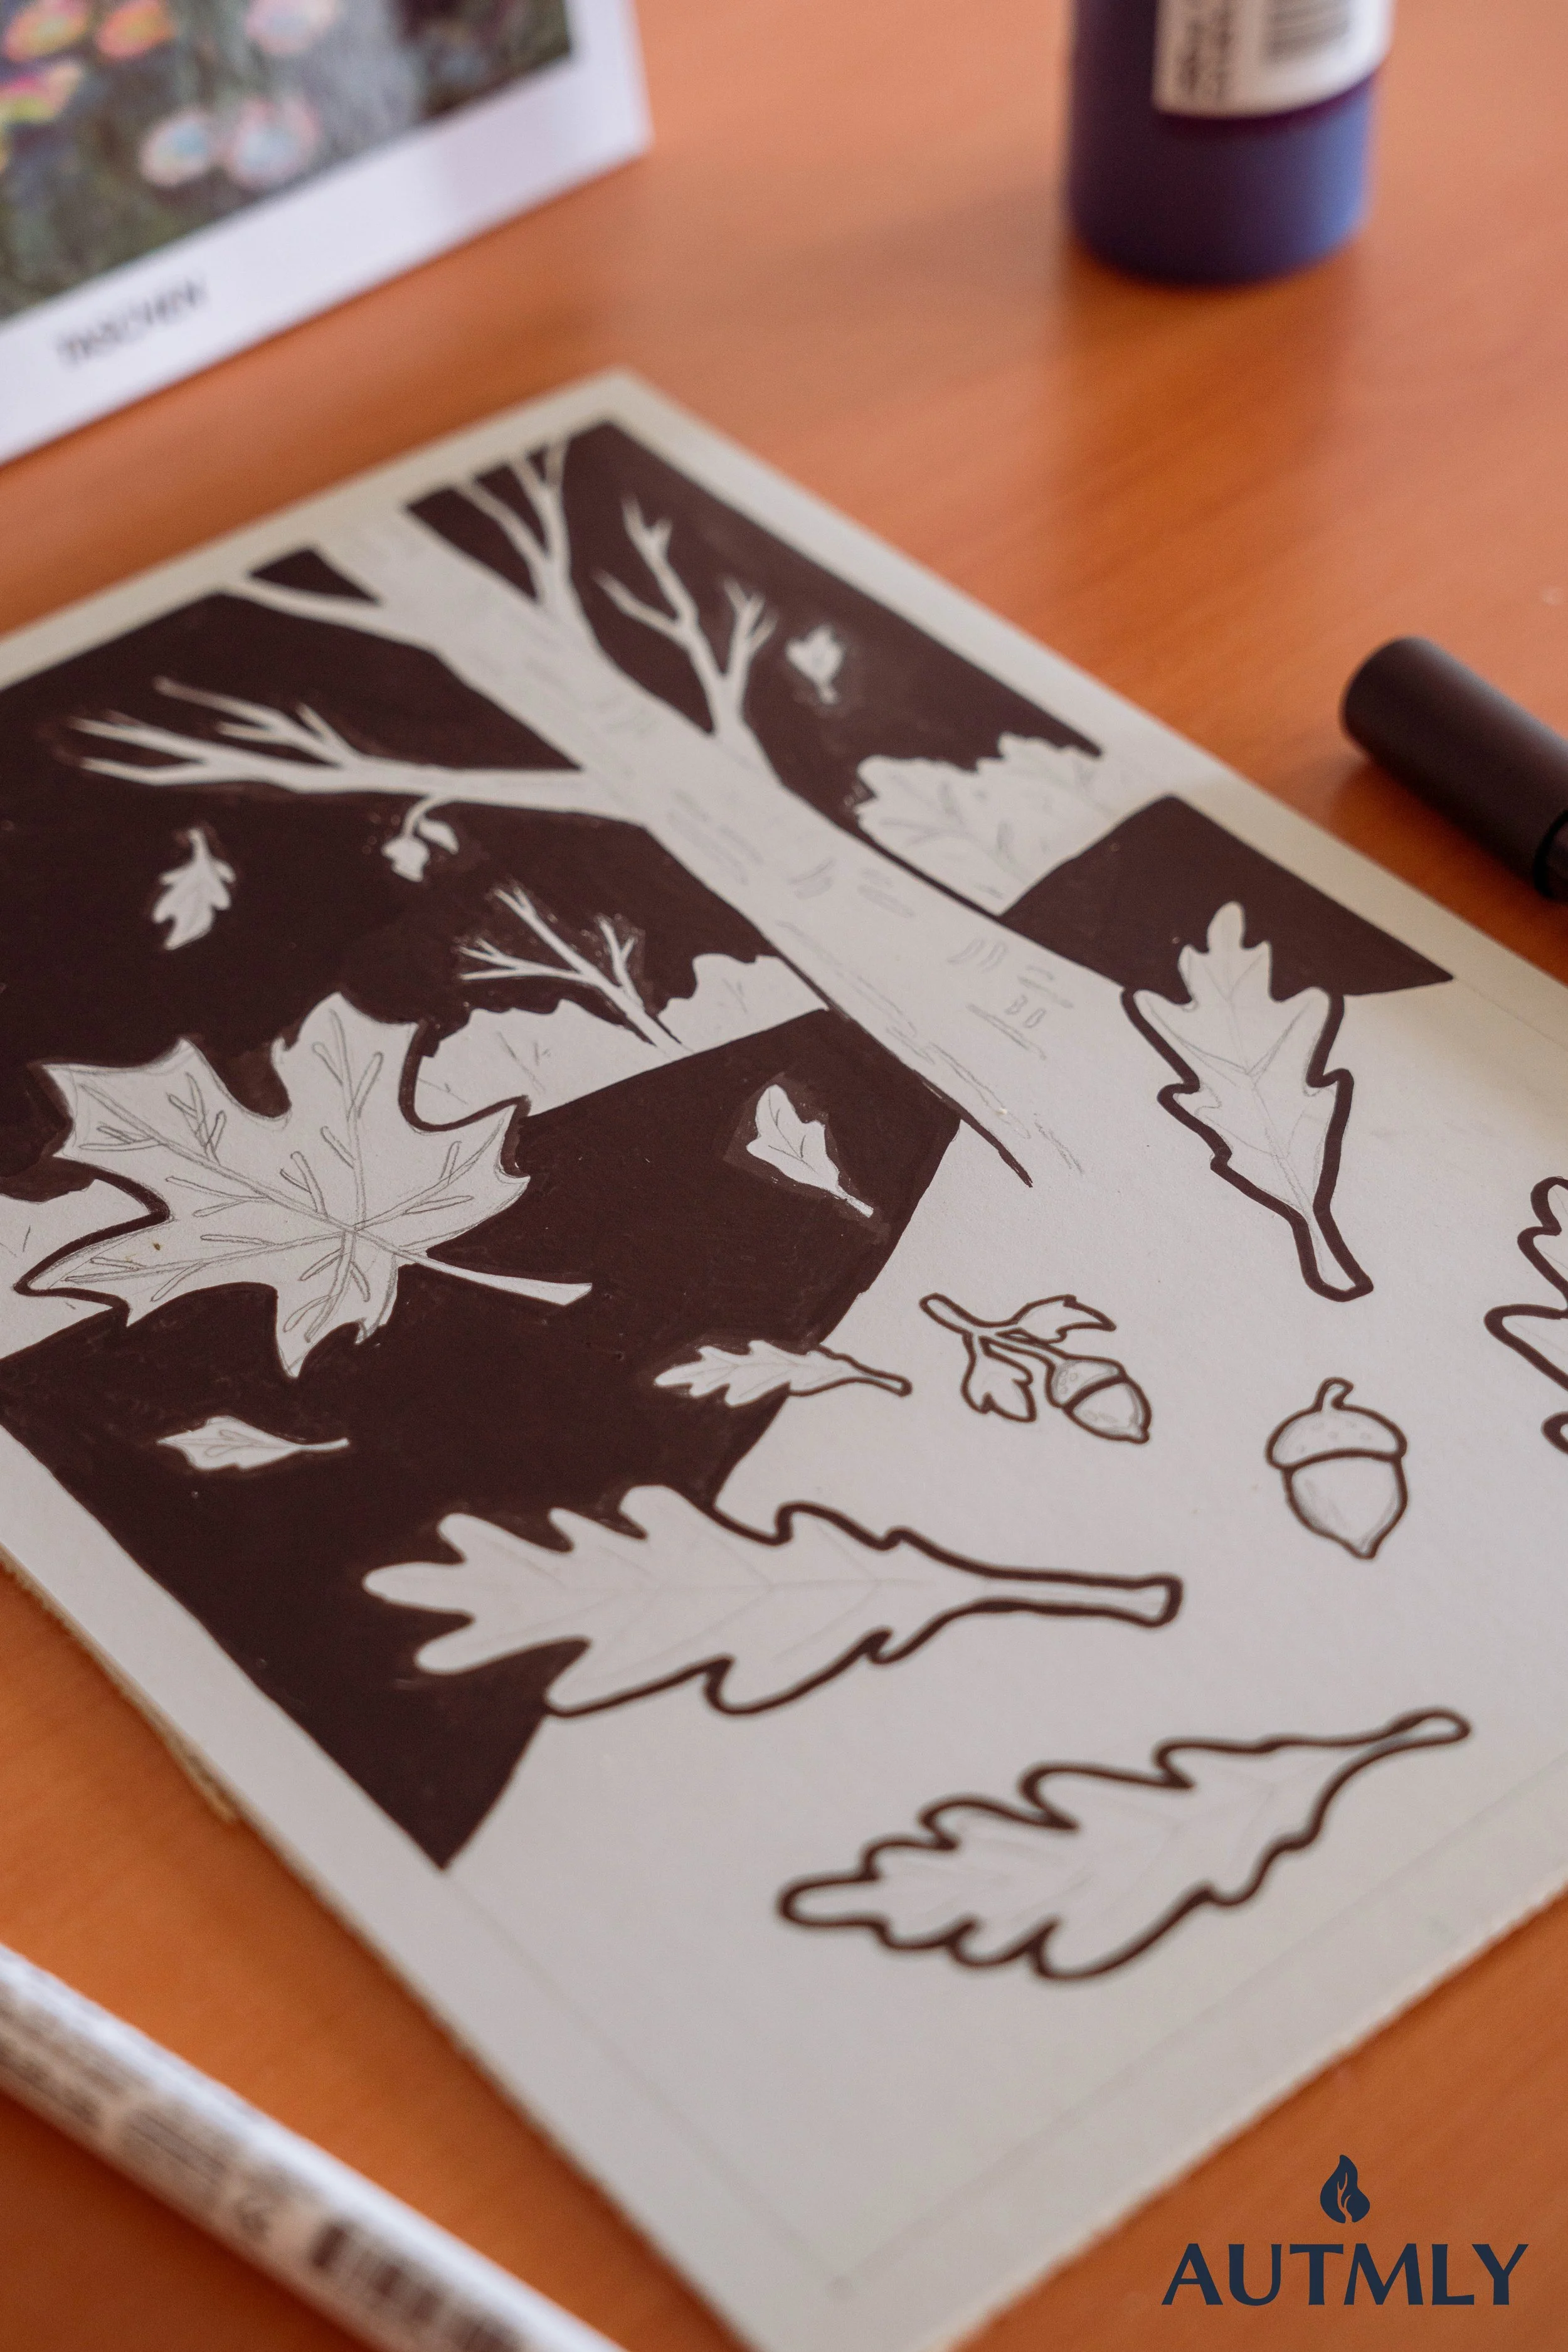
What I also did on this stage was to draw with black marker on the parts that will be carved out. I just found it easier for myself that way not to carve out something I shouldn’t.
Original photo - taken and owned by Autmly
Original photo - taken and owned by Autmly
Carving the Block
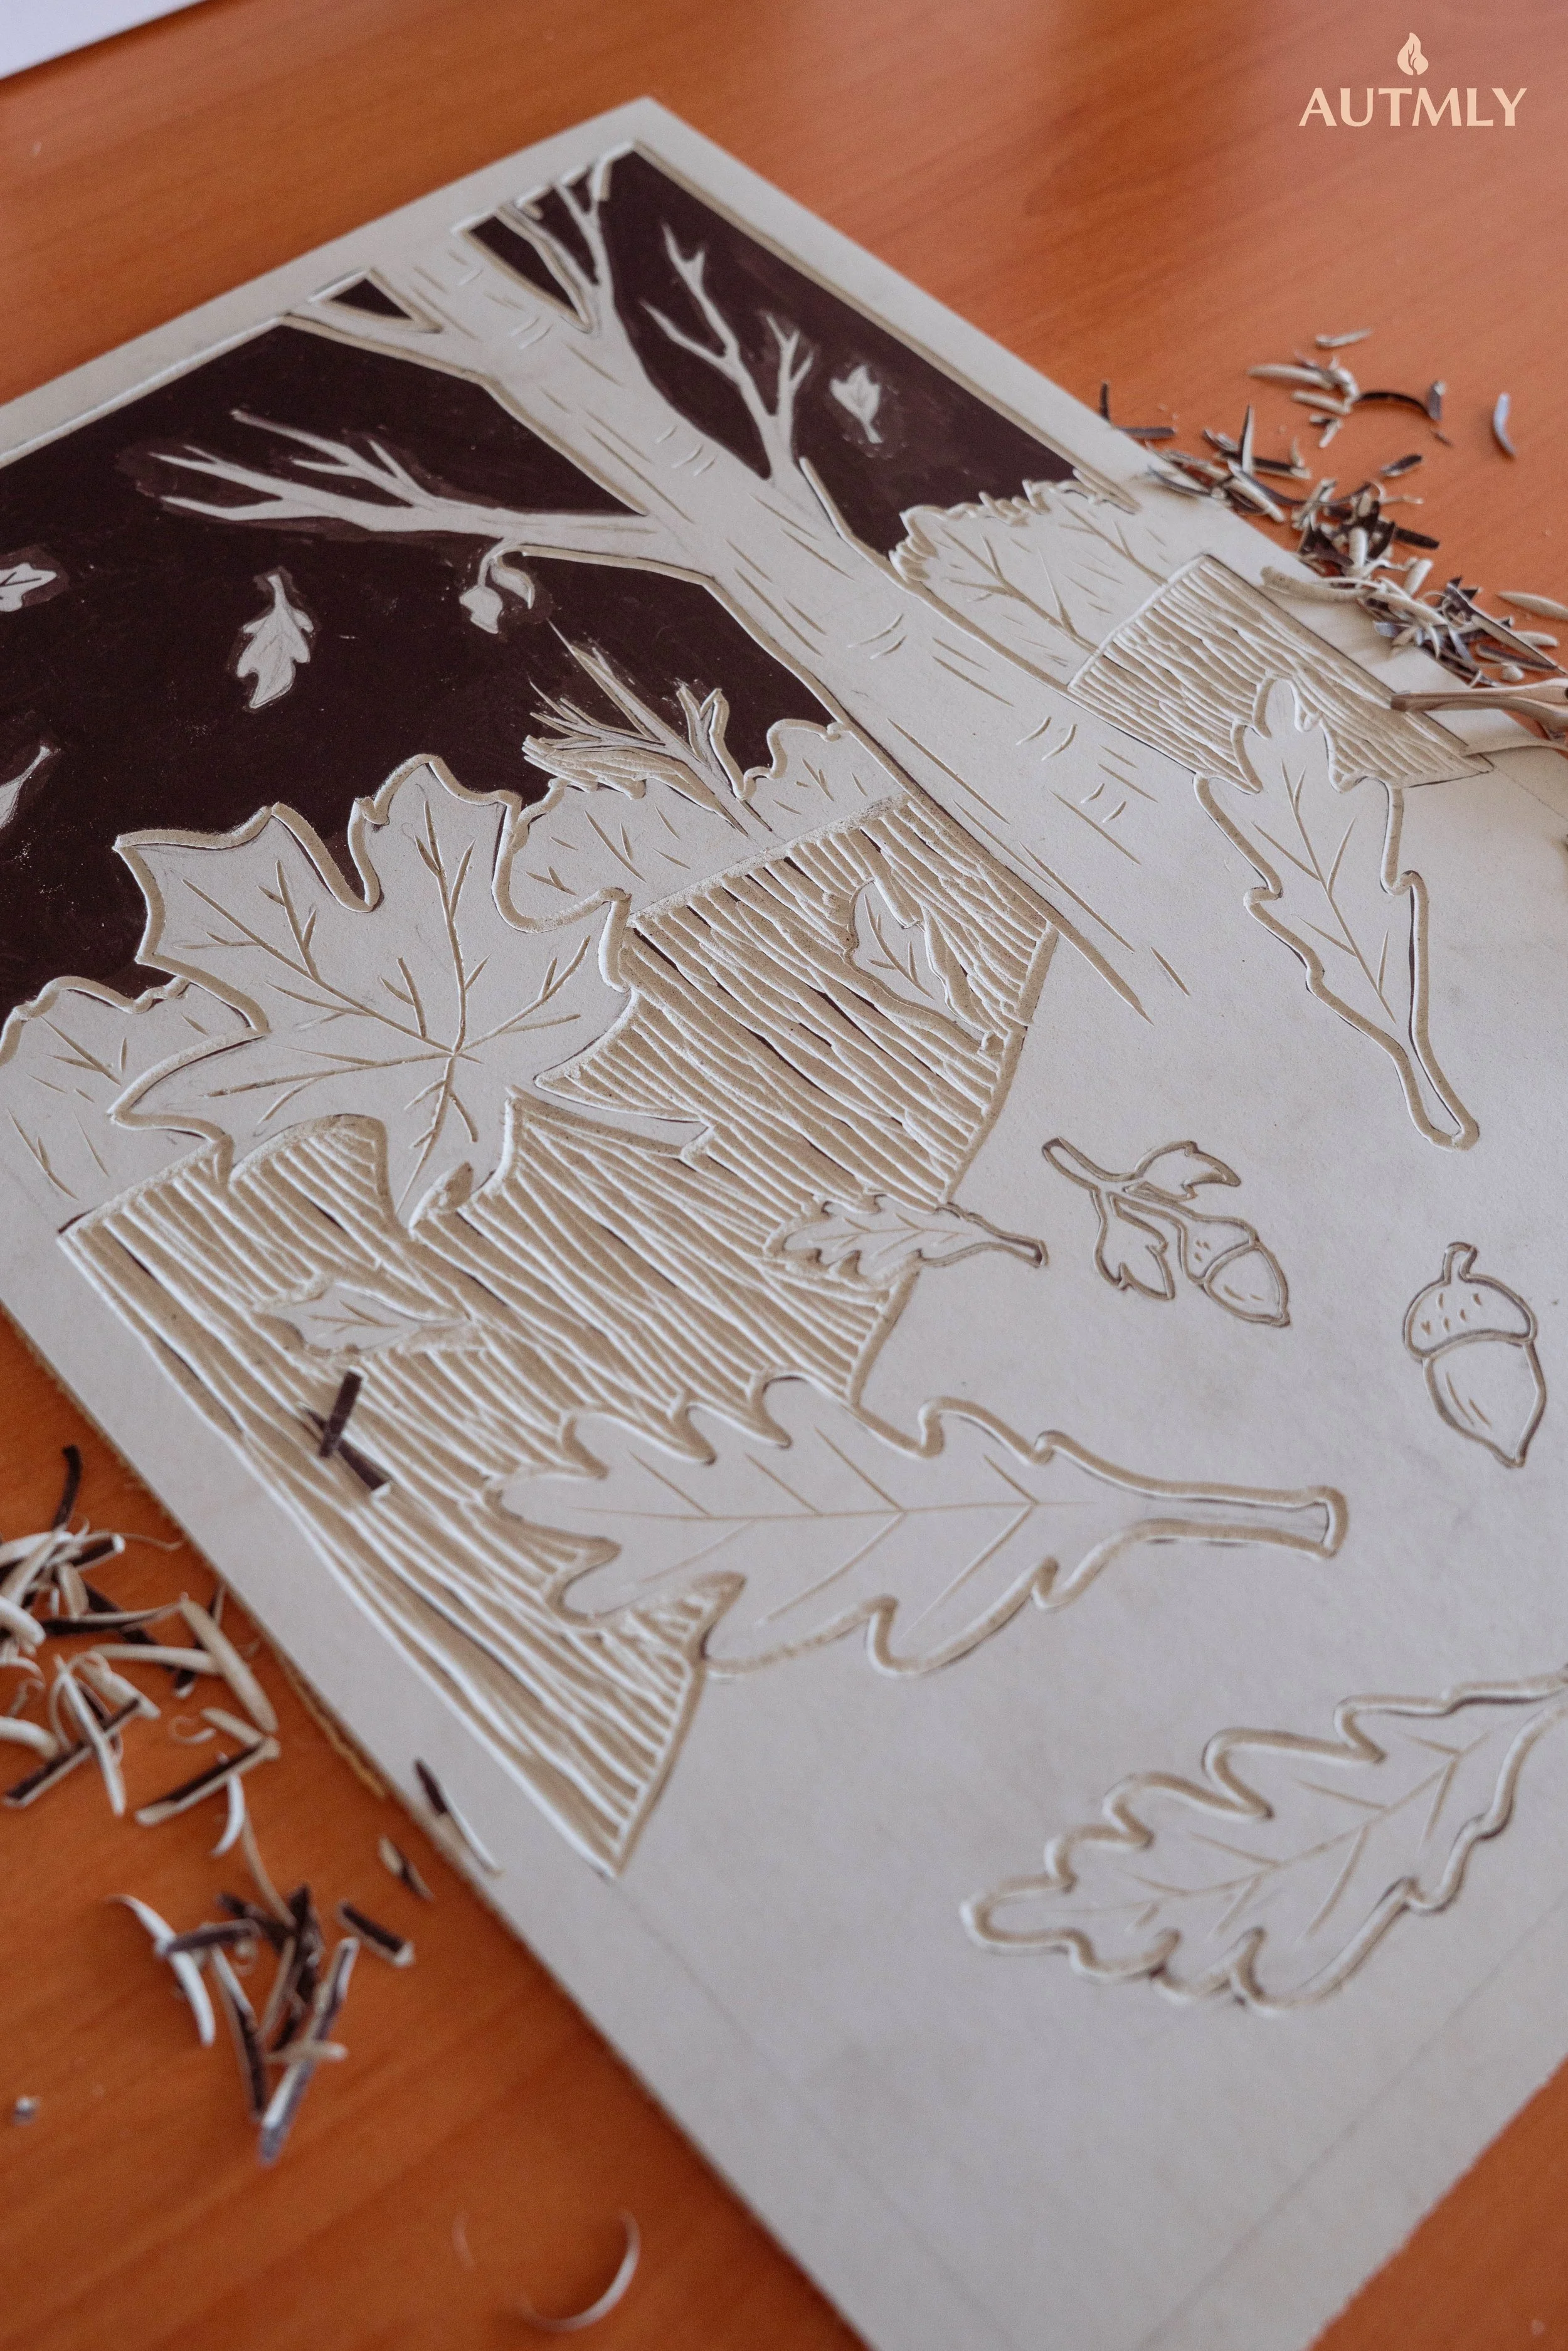
Next, I picked up the gouges and started carving away the areas I wanted to stay white on the print. It’s a slow process that allowed my mind to drift off while listening to music or audiobooks. Also, I was trying to be careful with the pressure and direction of the tool, since the lino can slip if I went too fast.
Original photo - taken and owned by Autmly
Inking the Block
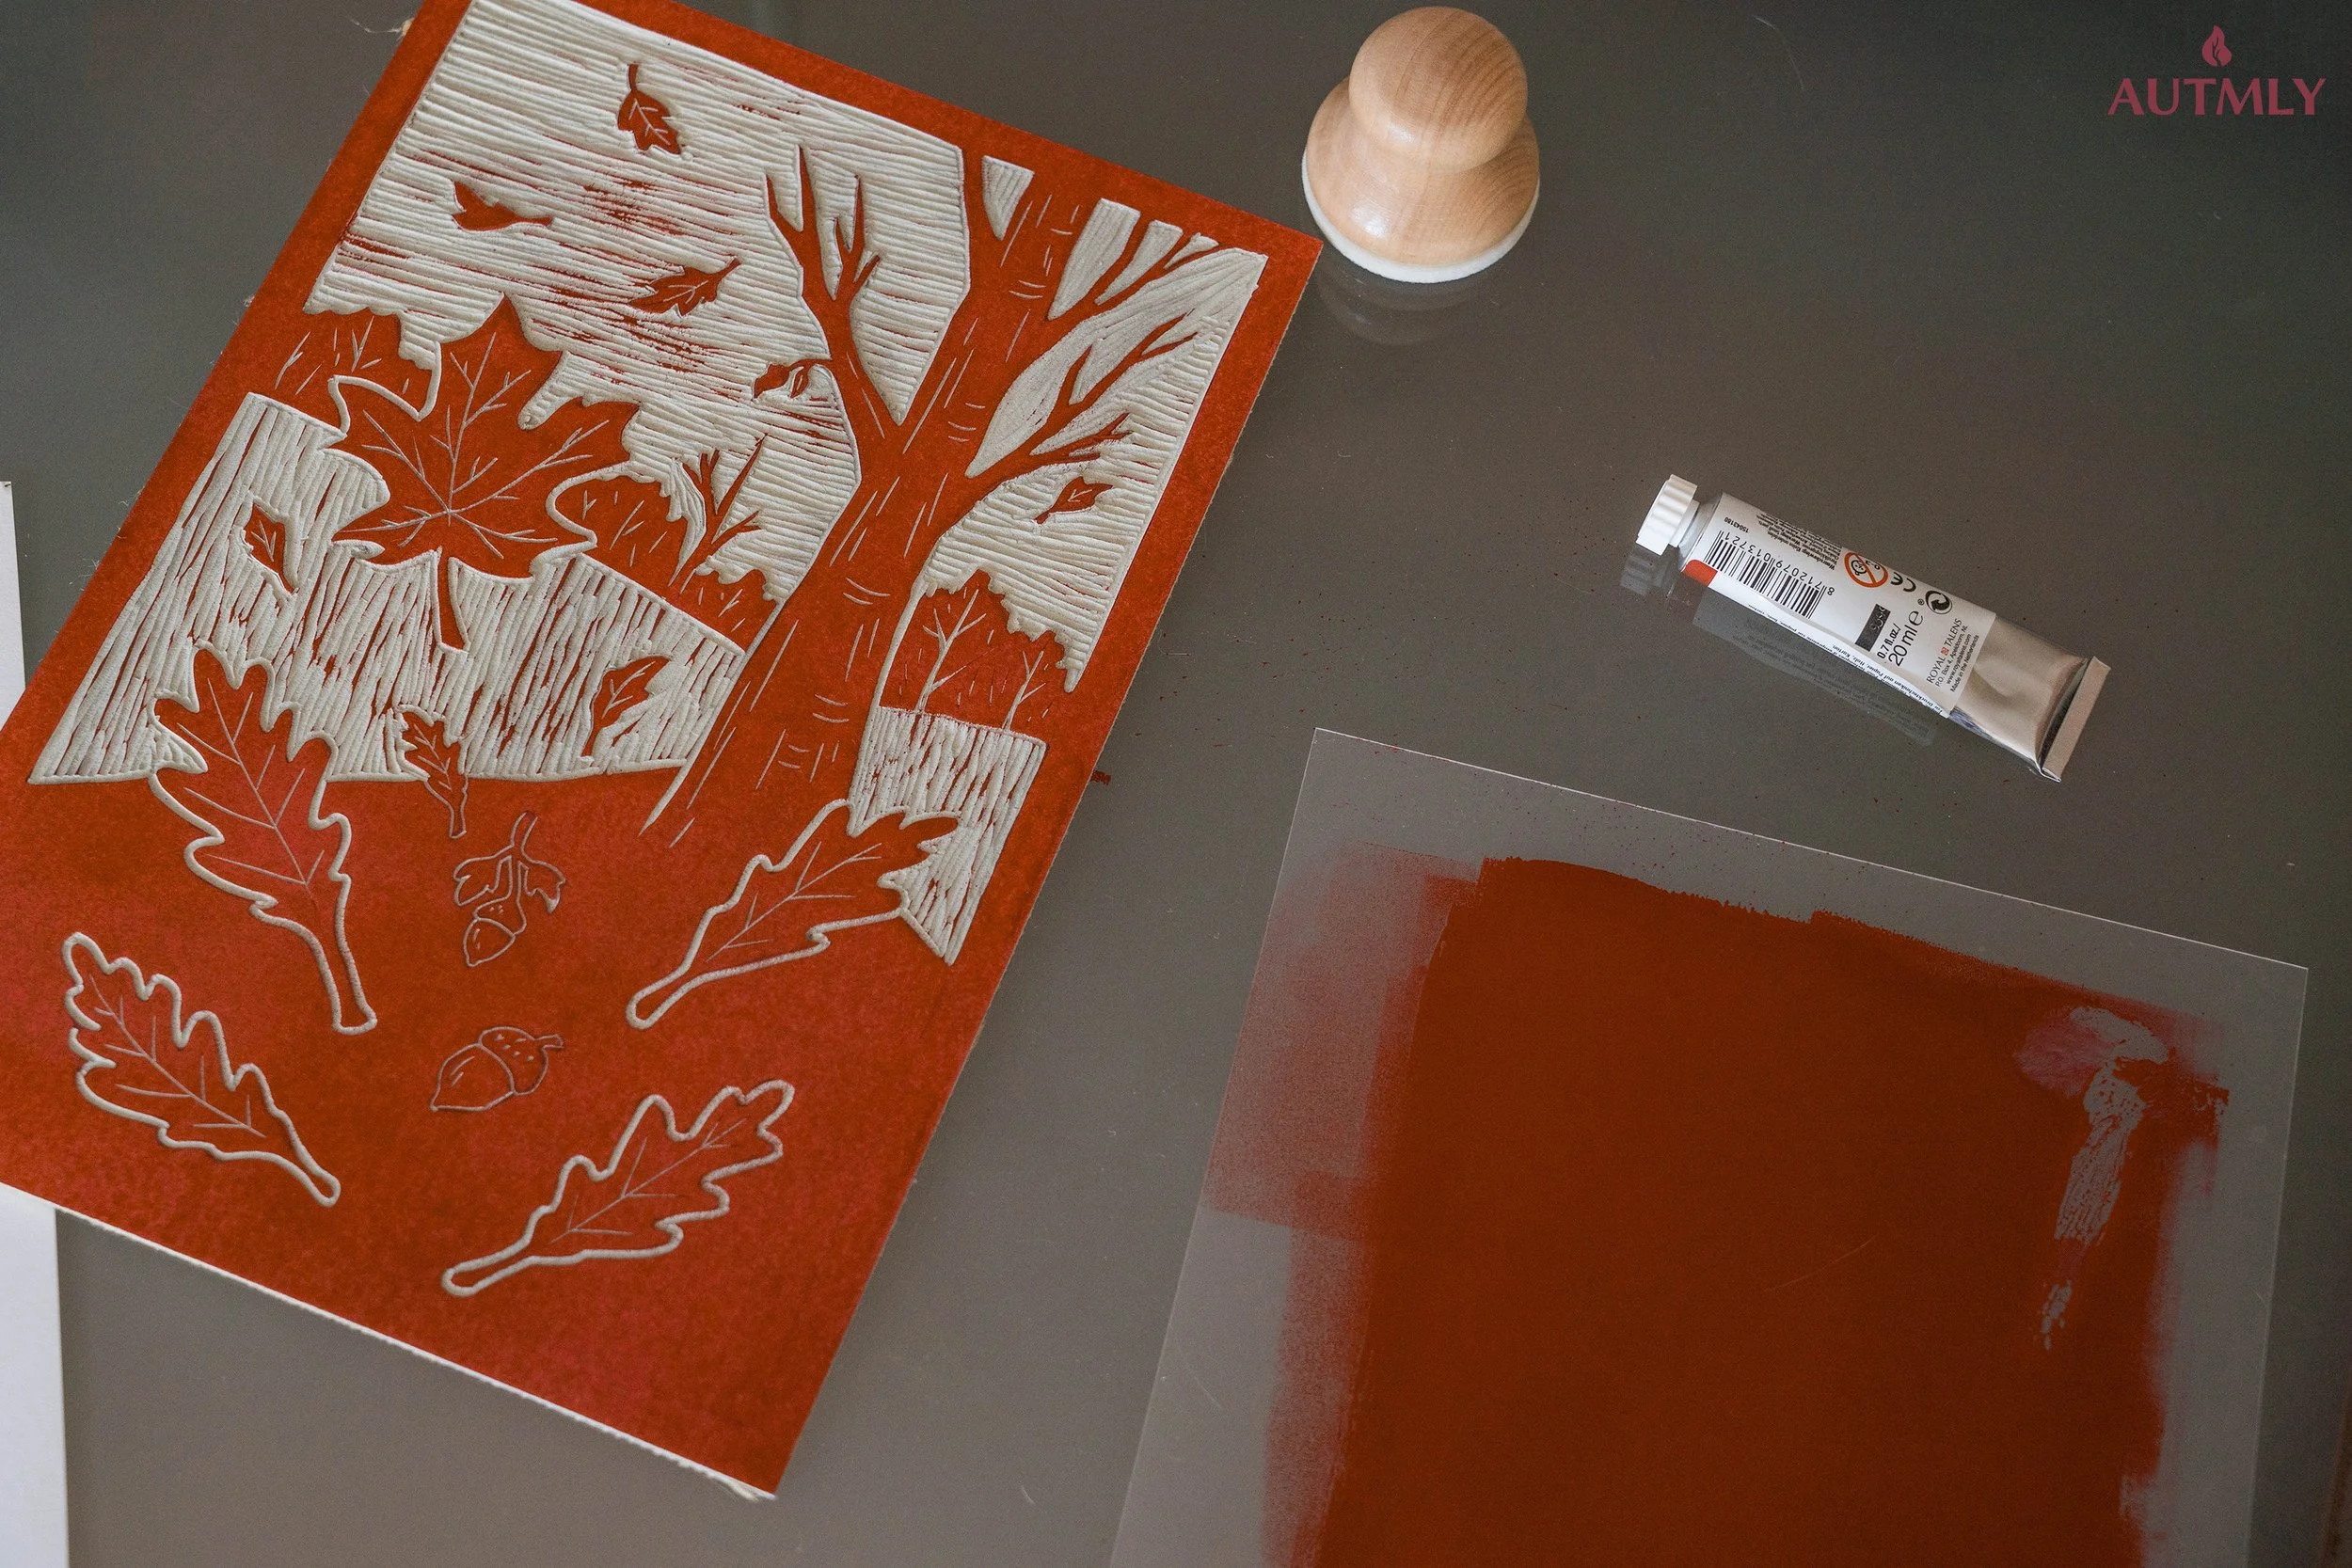
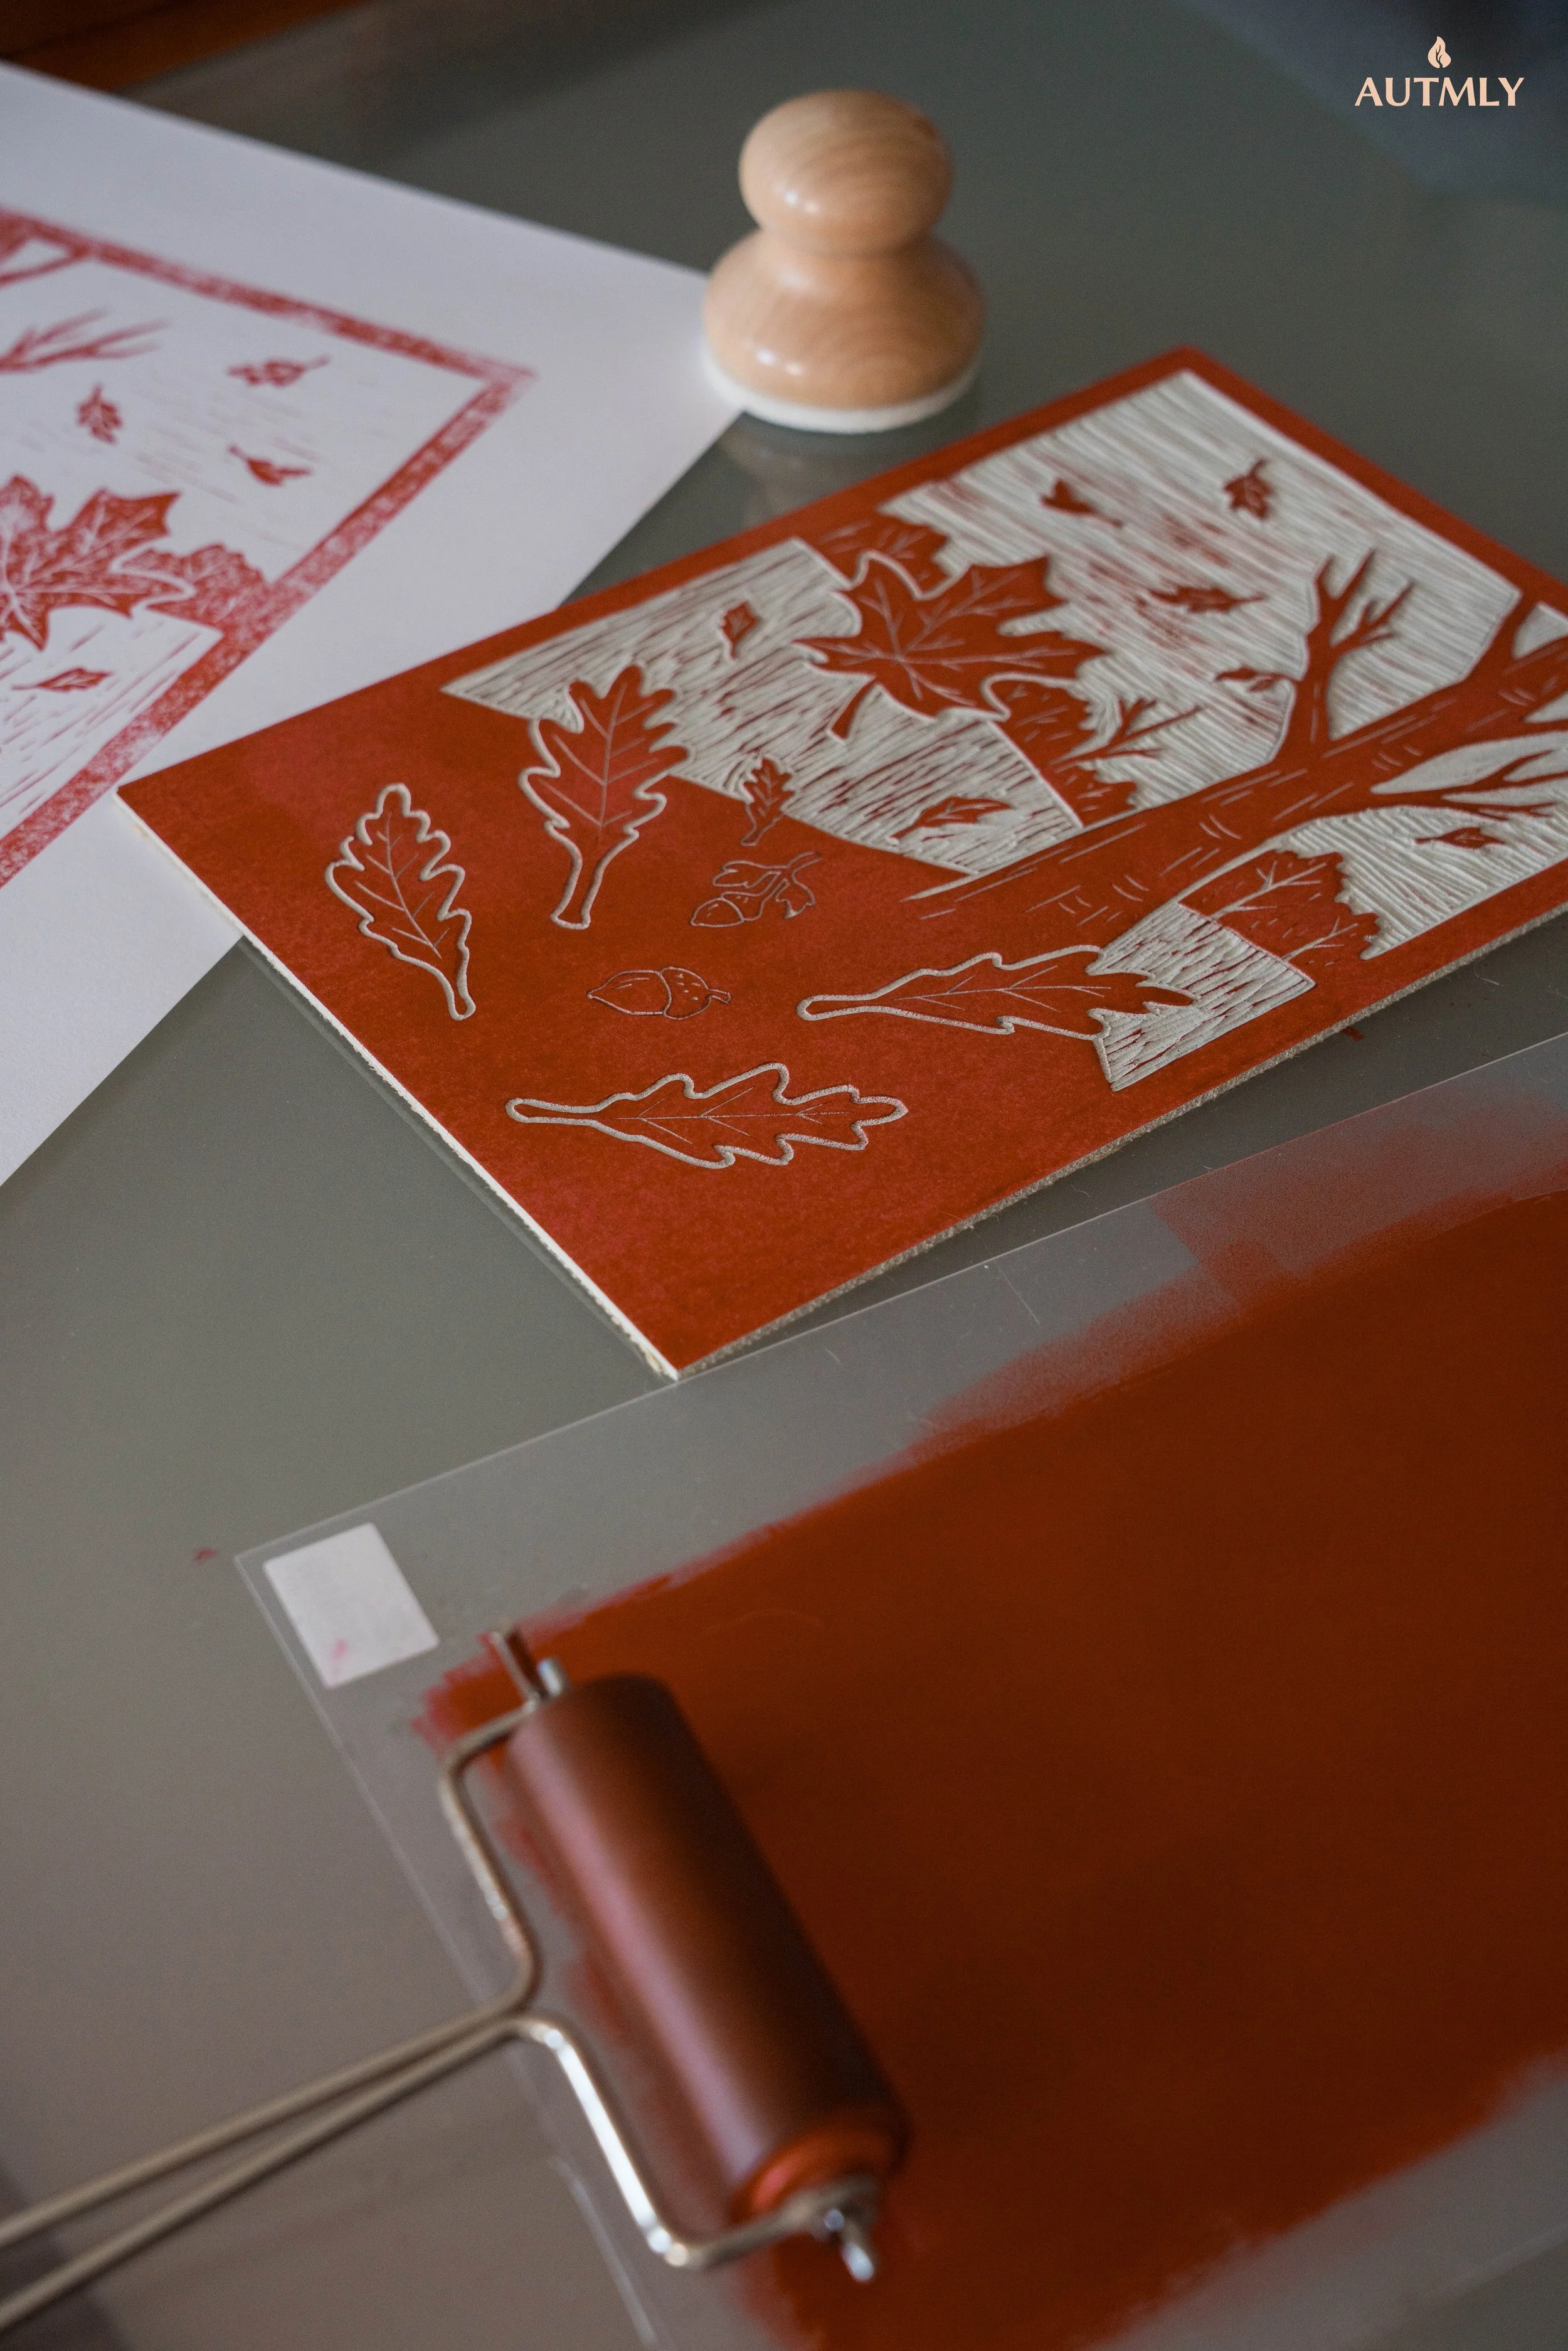
Once the carving was complete, I squeezed a little ink onto a smooth surface and rolled it out with my brayer. I knew it was ready when it made that satisfying tacky sound. Then I rolled the ink evenly over the block until the design was coated and glossy.
Original photo - taken and owned by Autmly
Making the Print
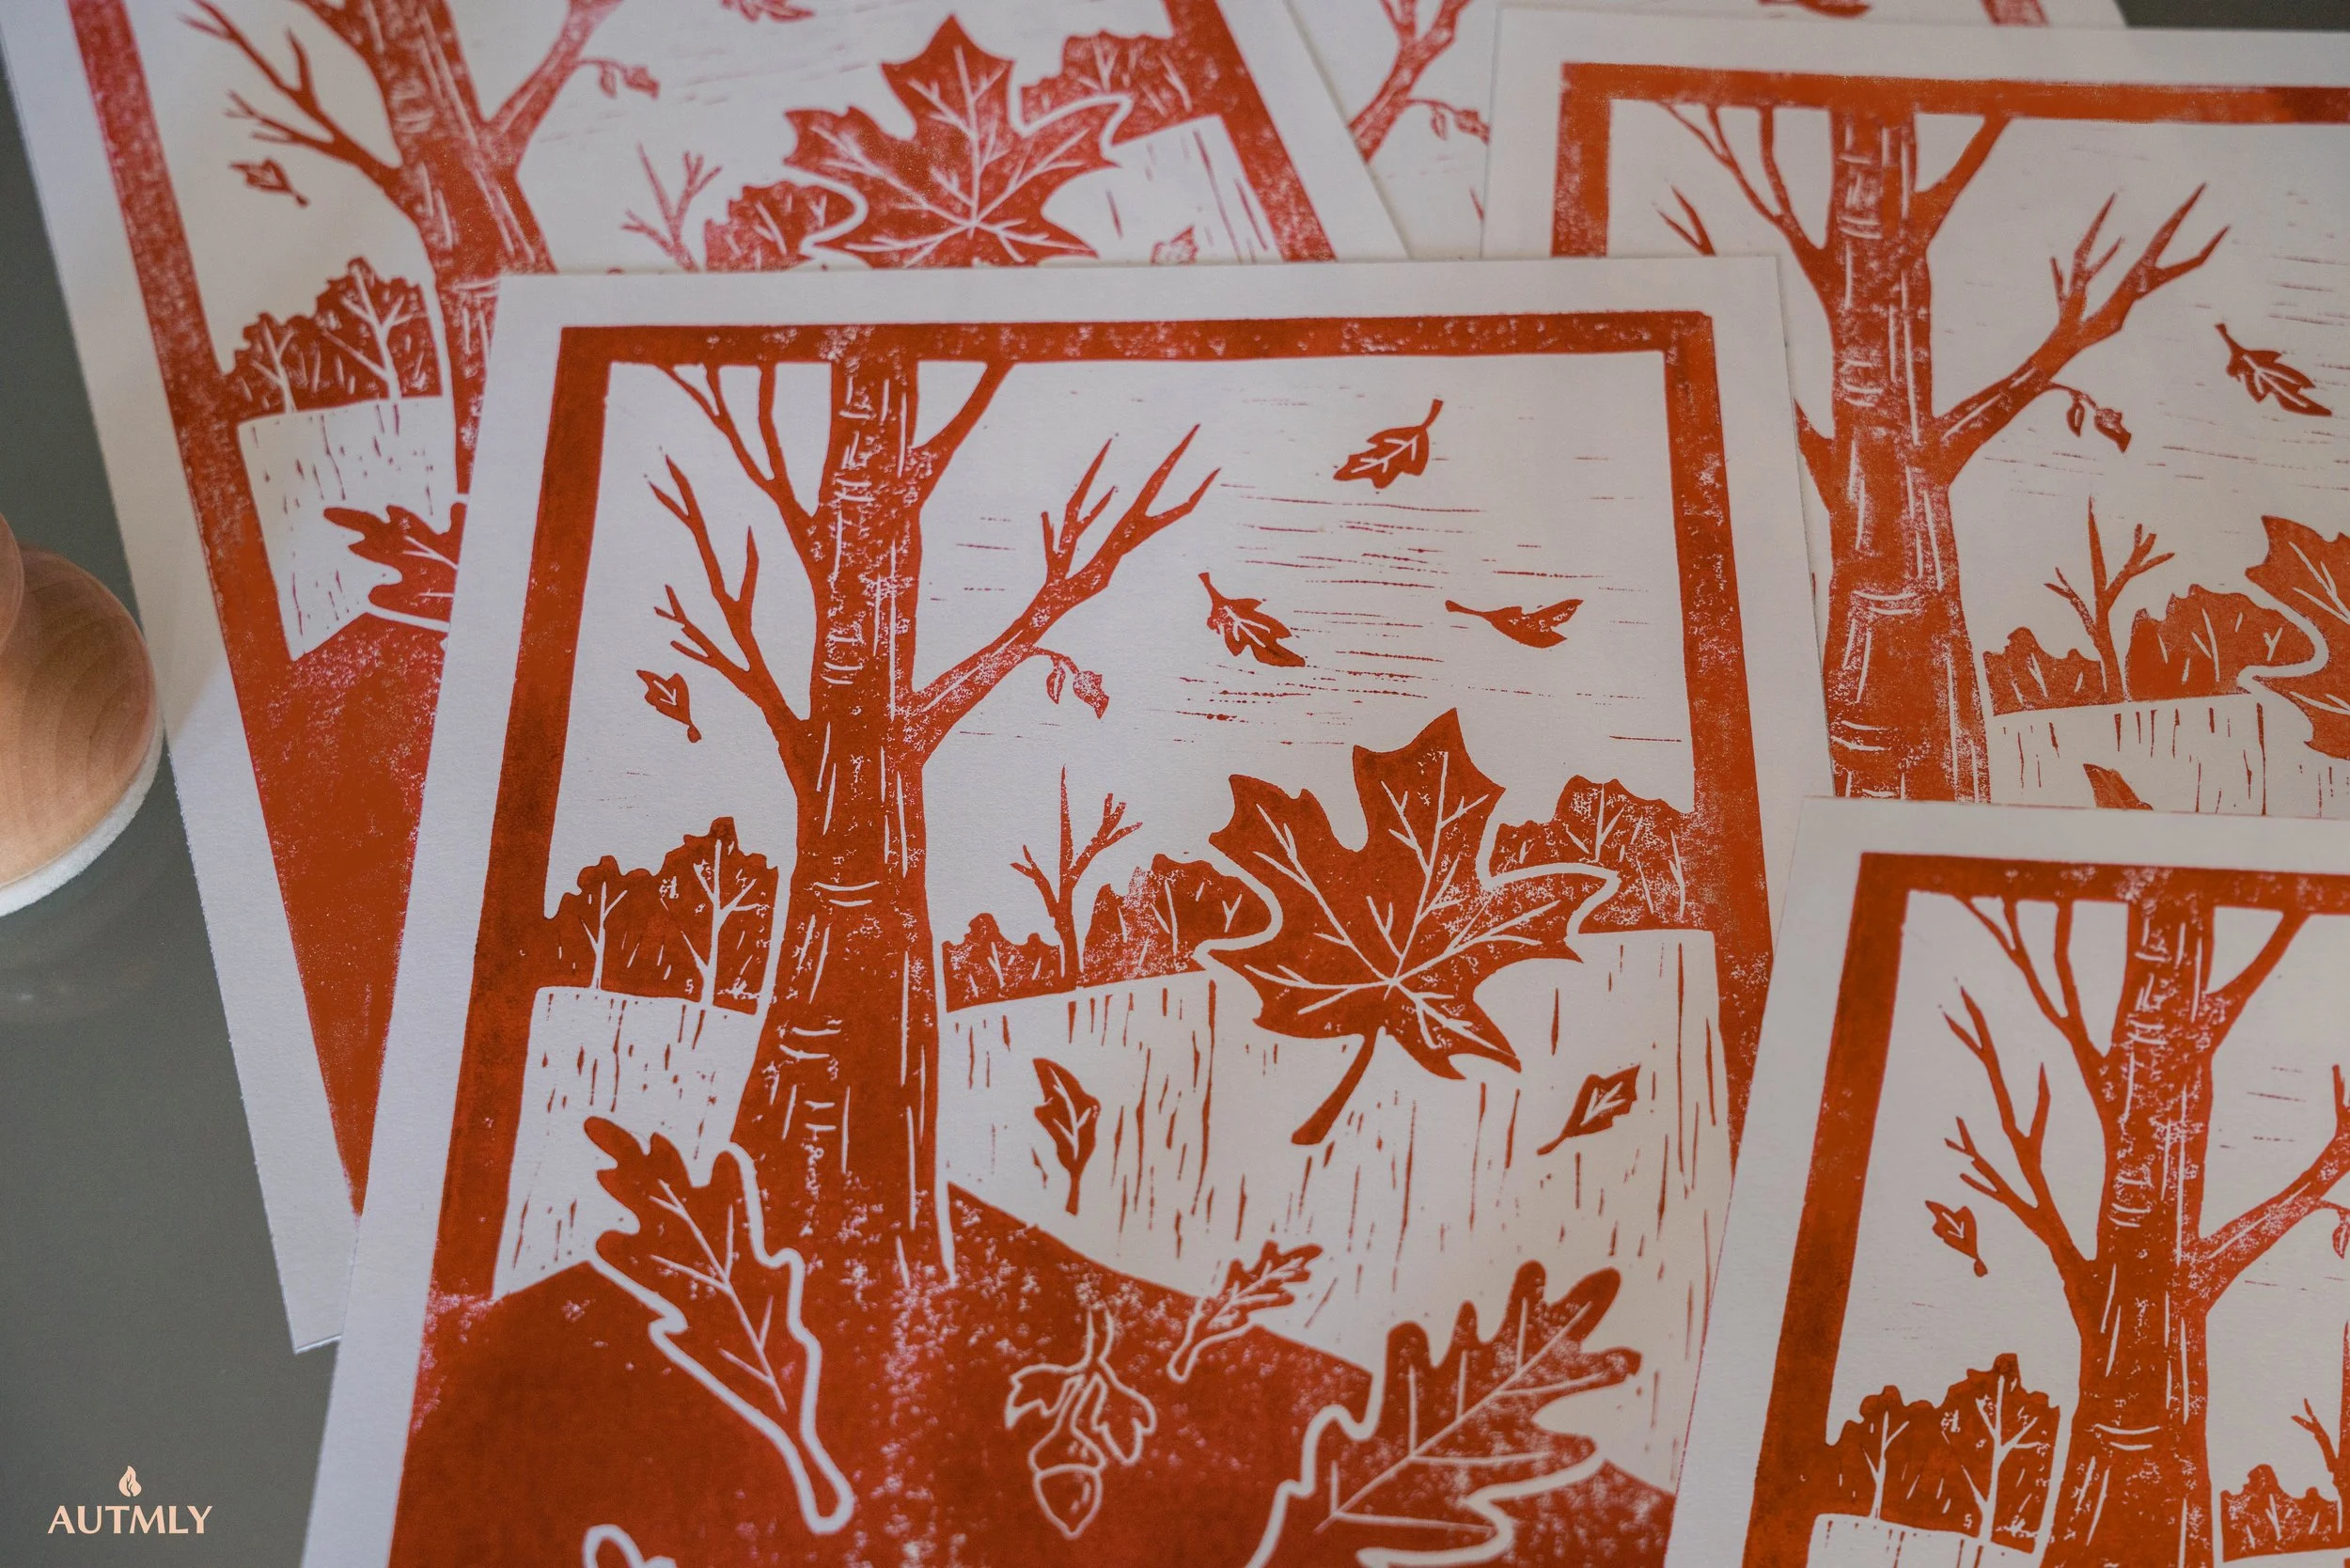
Now for the fun part - I laid a sheet of paper on top of the inked block and pressed it down firmly with the wooden baren (you can also use the back of a big spoon). I was just careful to press all sections of the design to make sure every detail is printed.
Original photo - taken and owned by Autmly
Original photo - taken and owned by Autmly
Wrapping Up
Revisiting linocut printing has reminded me how calming it is to create something with your hands. The process is slow and mindful, but the results are bold and full of character, each print unique.
If you’re looking for a hobby that is both relaxing and rewarding, I can’t recommend linocut enough. You might find yourself falling into the same rhythm I did, carving away on a quiet afternoon and waiting for that magical revel of the first print.
Thank you for reading and I hope I see you next time. 🍂
Keep your heart cozy - no matter the season.


